A Car Called Bob... Modifications
Electric Boot Release
Bit of Background
Fitting Details
Below is a simple outline of what I did to fit the boot release kit to the car. Its not the only way to do it, there are probably better / neater ways to do it. Nevertheless, here is how I fitted it.
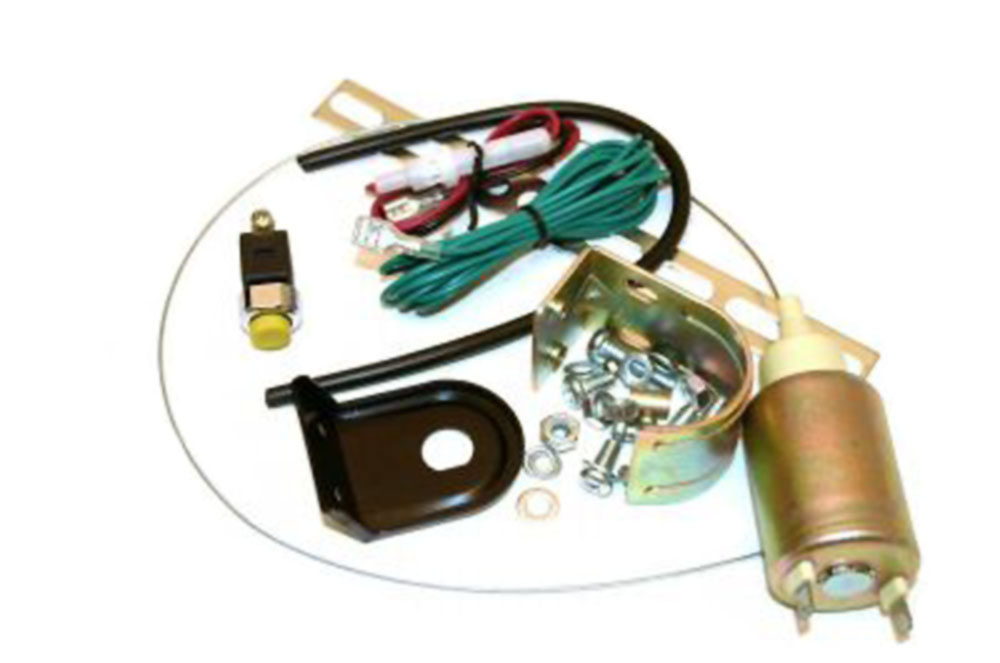
The kit was bought from eBay for the princely sum of £14 including delivery. The kit comprises of:
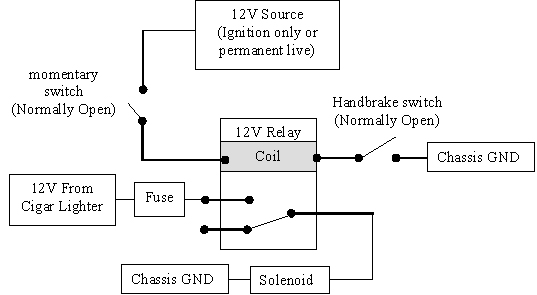
The safest way to wire up the switch is shown in the circuit diagram on the left. This means that you a) have to have the ignition on for the switch to operate, and b) have to have the handbrake applied.
The cigar lighter live can be accessed from the transmission tunnel by going in through the lower centre stowage box, which can be easily removed. For the handbrake switch, access can be made by removing the handbrake gaiter (simply unclips) and also through the hole where the ashtray sits. .
Moving to the work to be done outside the car, first remove one of the light clusters. This is simply a couple of nuts on the inside of the boot. This enables you to open the boot from the inside if you mess things up and neither the key release or your new remote release function properly initially. Its not hard to get the cables to foul in the catch mechanism.

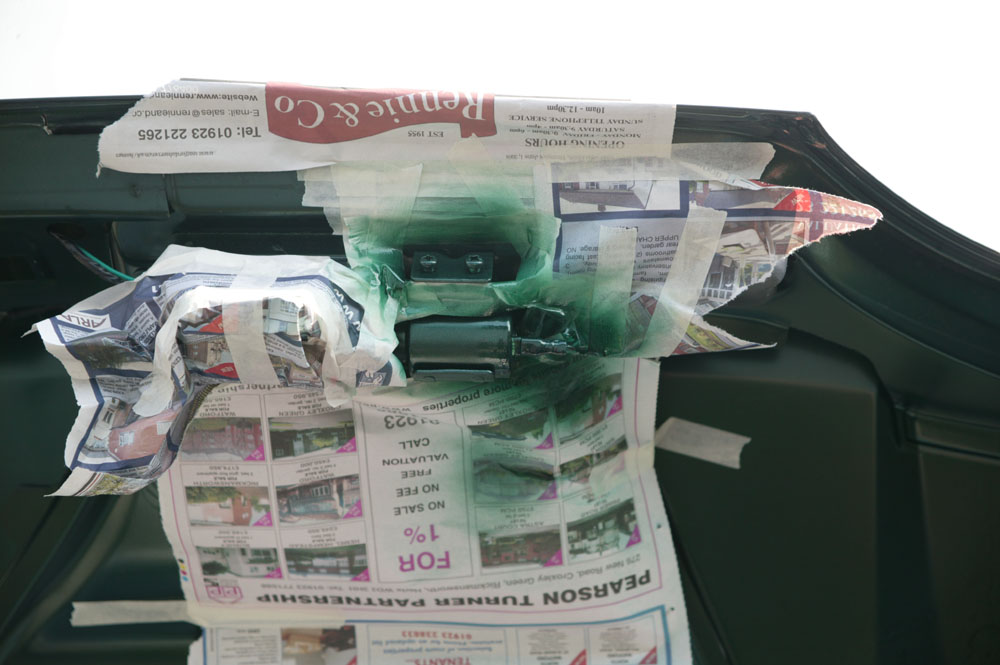
Next put a dust sheet over the engine bay, and into the boot. This stops swarf from drilling and screws that get dropped as they always do, will not fall into the engine compartment.
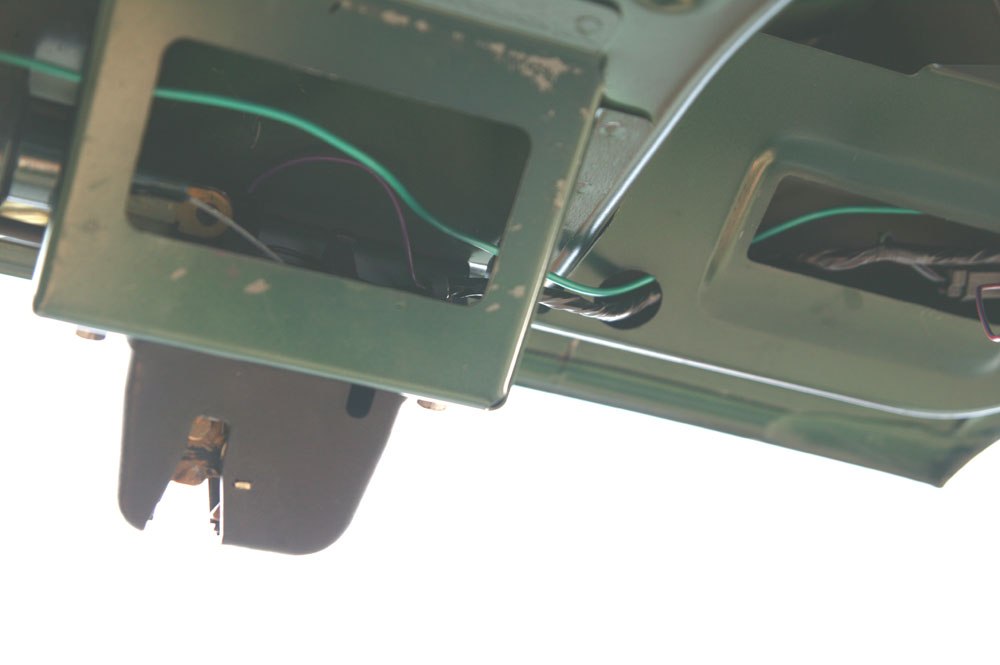
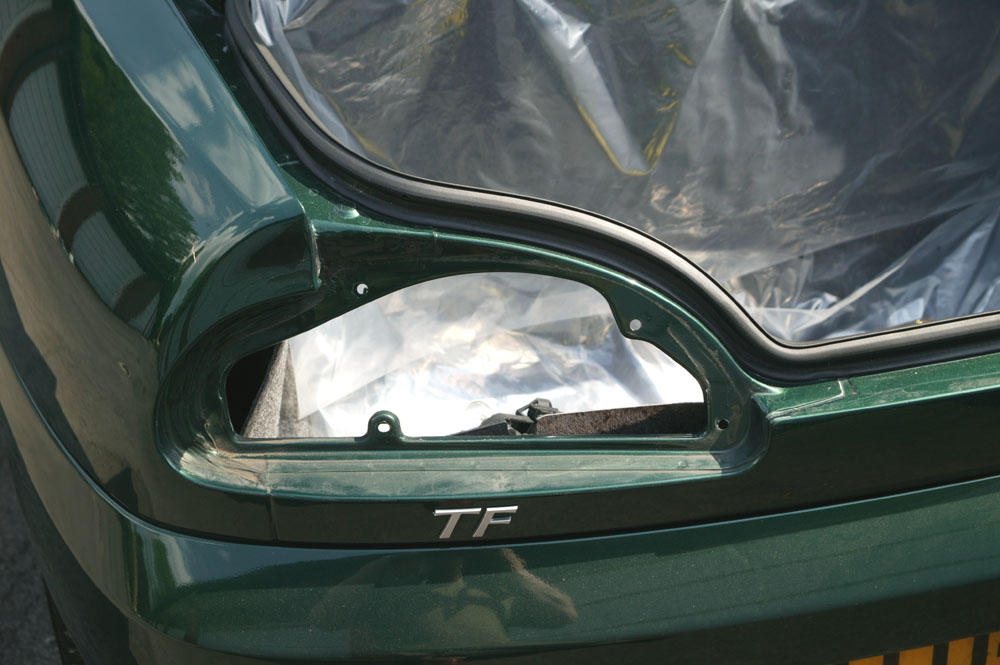
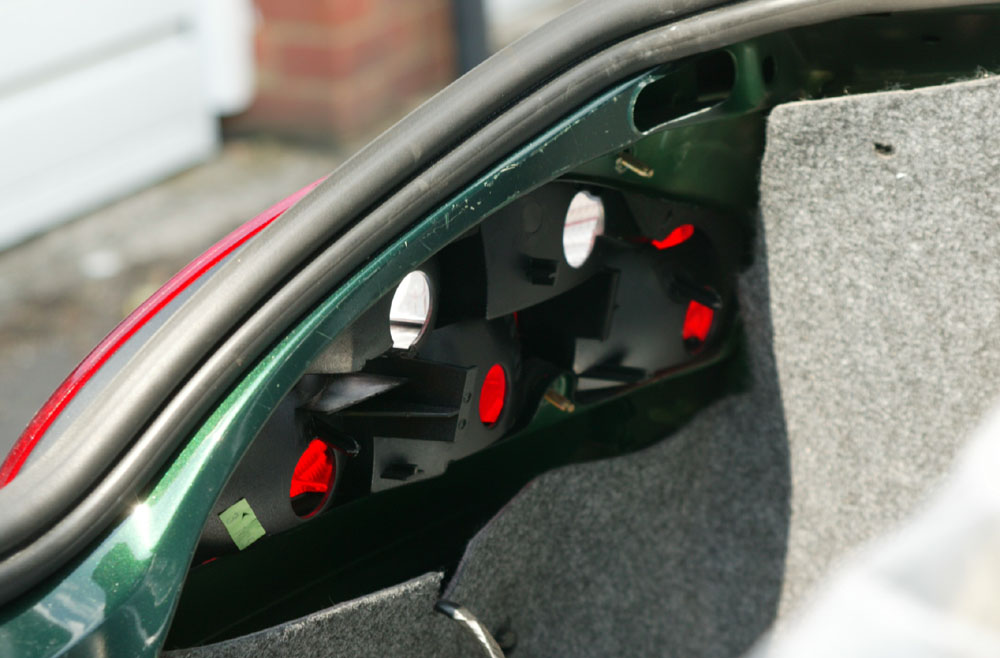
Here you can see the boot lid light missing on the right hand side. The solenoid live is then threaded through the catch assembly ready to connect to the solenoid. You can just make out the wire from key operated mechanism heading in to the catch.
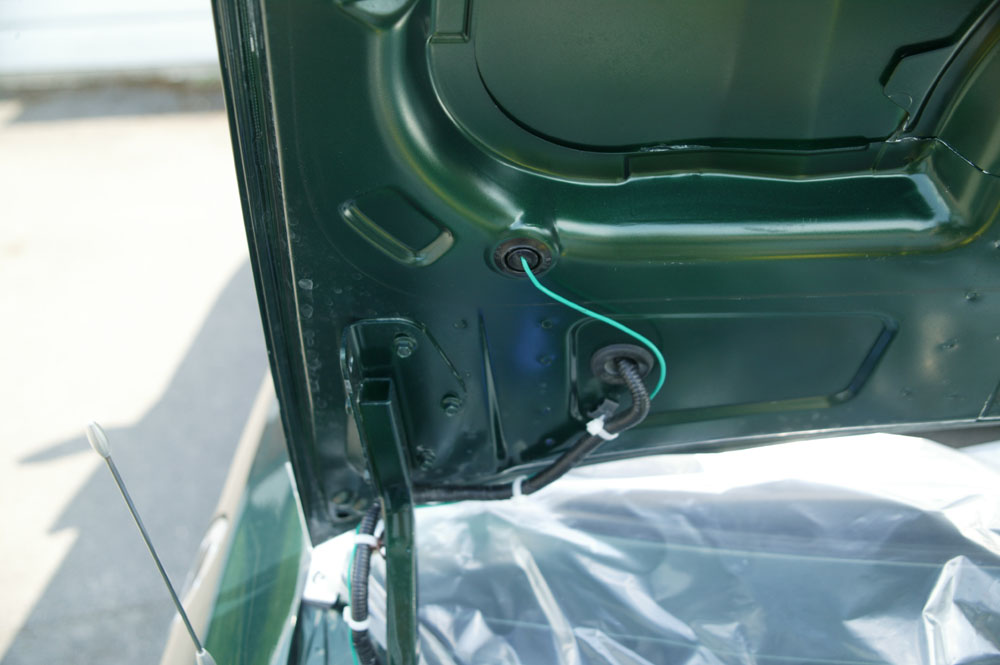
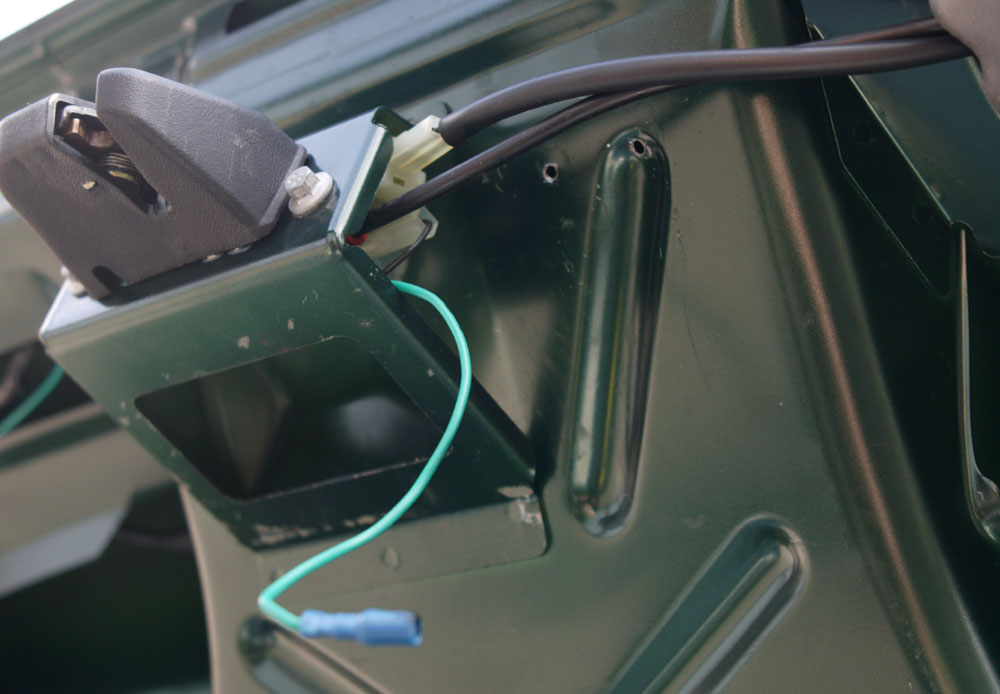
Here you can see the run of the solenoid 12V live wire running up the left hand side of the boot lid. I crimped a spade end socket onto the end of it, ready to attach to the solenoid.
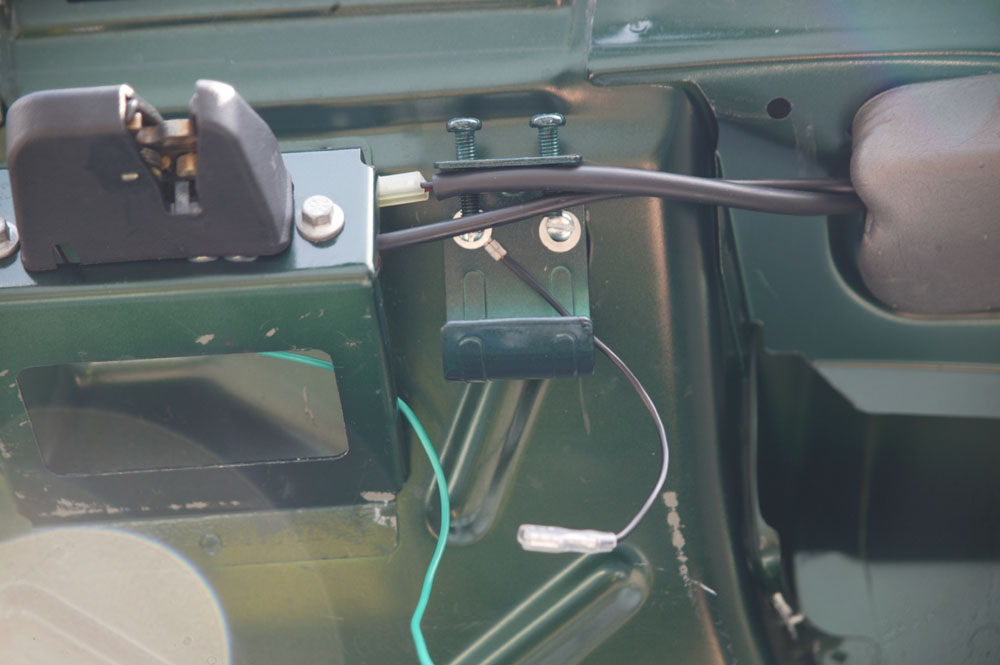
This is the first scary bit! You need to position the solenoid and bracket where you want it, and mark up the positions for the holes that the self tapping screws will hold the bracket firmly to the boot lid. Luckily, there is a bit of box section which is suitable, and you can just see the holes in the picture on the left. Be very careful to only go through the box section and not right through to the outer skin of the boot lid! I used a 1/8th inch (3.2 mm) drill bit for the task.

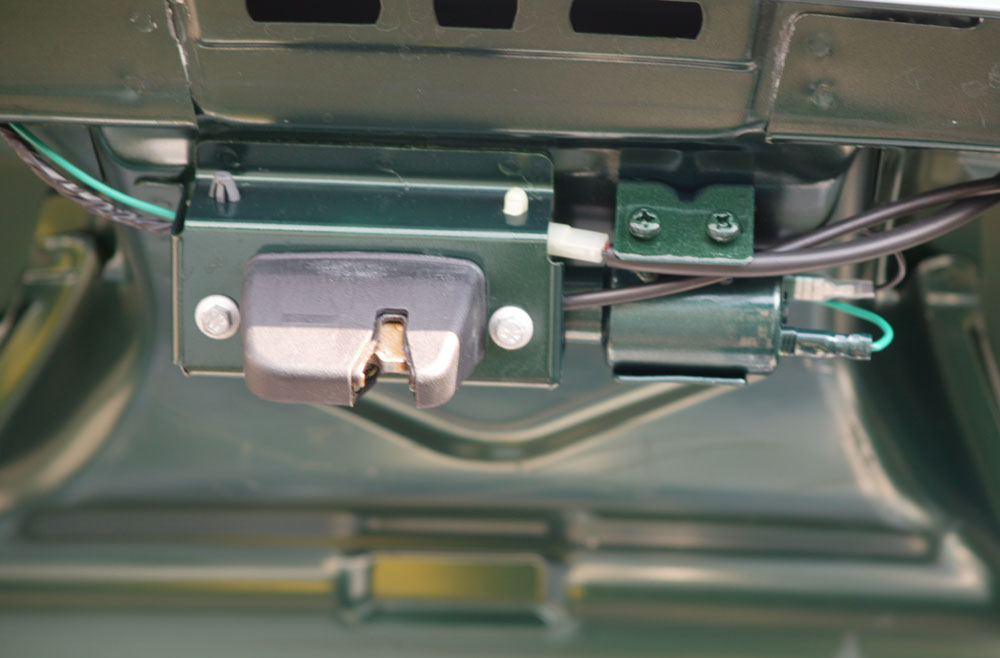
Next, I made up a short earth/return lead for the solenoid. This completes the coil circuit inside the solenoid, giving the current somewhere to go when the solenoid is energised. The ring spade end is screwed onto the bodywork using one of the self tappers that holds the solenoid mount on. I scraped away some of the paint to get a good contact.
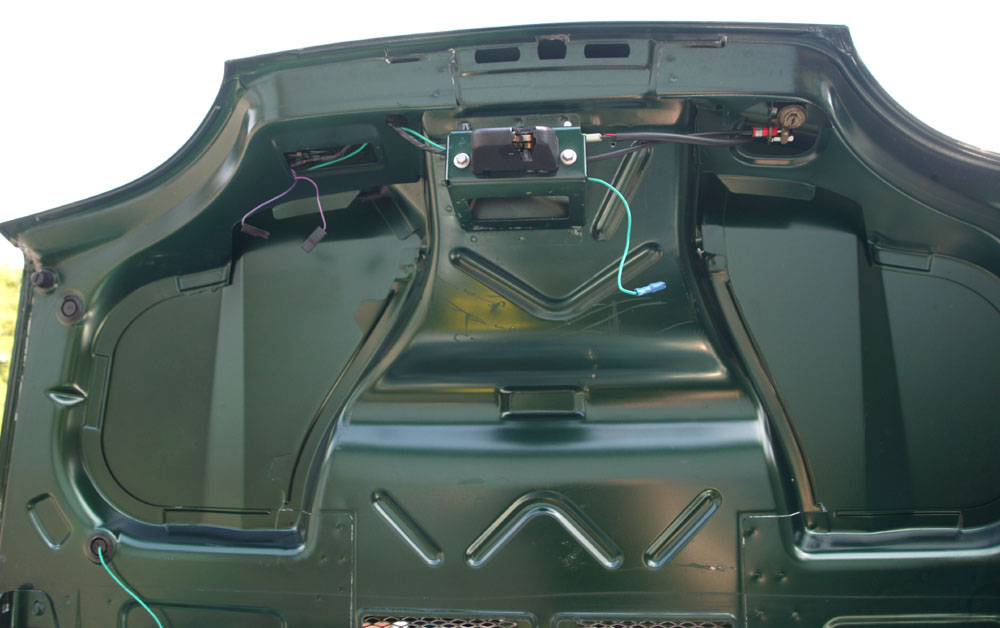
In this shot you can see the ready painted solenoid bracket attached to the box section in the boot, with the earth lead in place. Next, it's time to fit the solenoid. This type of solenoid lends itself to having the tapered end poking into the boot catch support housing (on the left). The wire of the solenoid is terminated using the supplied barrel and grub screw at a suitable length. Leave yourself a little extra, as you will need to adjust the length to get the tension just right. This is trial and error and where access through the rear light cluster is important. It will take a bit of adjusting to get the solenoid to open the boot first time, and allow normal operation of the key activated system. Sorry I don't have any photos of this bit yet!!
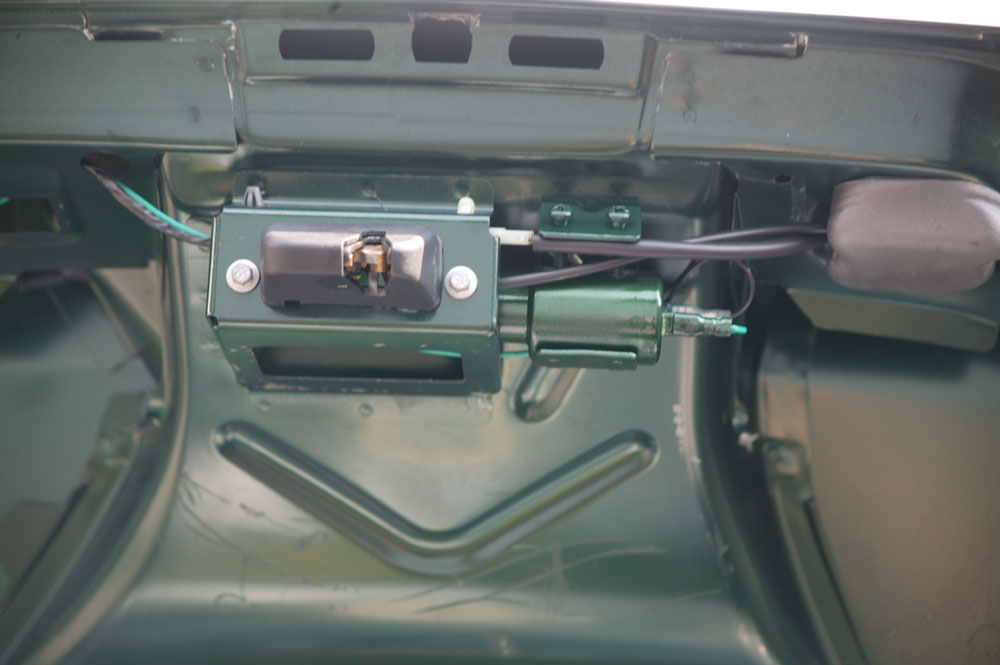
Next I sprayed up the solenoid, clip and wires, to match the bodywork colour. Nothing like a colour coded boot release!
Lastly, when you are satisfied that all is well, replace the light cluster.
Fingers crossed!!
| Images and Text © 2006 Iain Ross |
I accept NO responsibility if you attempt any of the mods on this site. If you mess it up - its your fault!